 Manipulating text and part of imageOpen photo (you can download it from here).
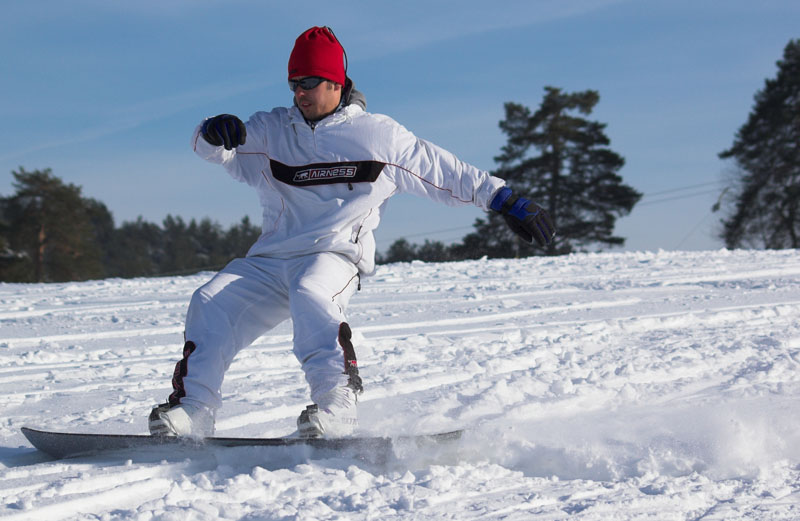
Step 1
Copy background layer. We will use keyboard shortcuts so copy layer with (CTRL + J)

We now have to select snowboarder. Press Q to enter quick mask mode. Now use pencil, size 1 and paint over the edge of snowboarder.
 Exit Quick Mask mode (press Q again) and we have selected everything but the snowboarder. Invert the selection (SELECT - INVERSE).
Step 3
Press (CTRL + J) to copy selection of snowboarder to new layer. Call it "snowboarder". Now we have layer on which is only the snowboarder.
Step 4
Pick text tool (T) and select black as color type some text. Position it over the snowboarder legs.
Step 5
Make sure that your text layer is selected and make layer mask on that layer. It will be filled with white color.
Step 6
Hold down CTRL on keyboard and left click on layer called "snowboarder". This will select contour of snowboarder. Now click on the layer mask of text layer. Select brush tool (B) and select black color. Paint over parts of text you want to hide. Deselect selection with (D).
Step 7
Click right mouse on text layer, select blending mode, go to Stroke, select black color (or some other as you wish), size 2px, position Outside. This will add stroke effect on our text layer.
Step 8
Select blending mode of text layer to be Overlay
Step 9
Click on "snowboarder" layer. Hold CTRL and left click mouse to select layer. Create new adjustment layer Solid Color. Select color you want. I've selected #9c701a as my color. Change blending mode of adjustment layer to Vivid Light and change opacity to 50%.
Step 10
We now want to blur a background just a little. So hold down CTRL and left mouse click on "snowboarder" layer. Now invert selection (SELECT - INVERSE). Click layer below "snowboarder" layer and apply FILTER - BLUR - GAUSSIAN BLUR.
 Deselect all and we're done.This is what it like's at the end
No comments:
Post a Comment